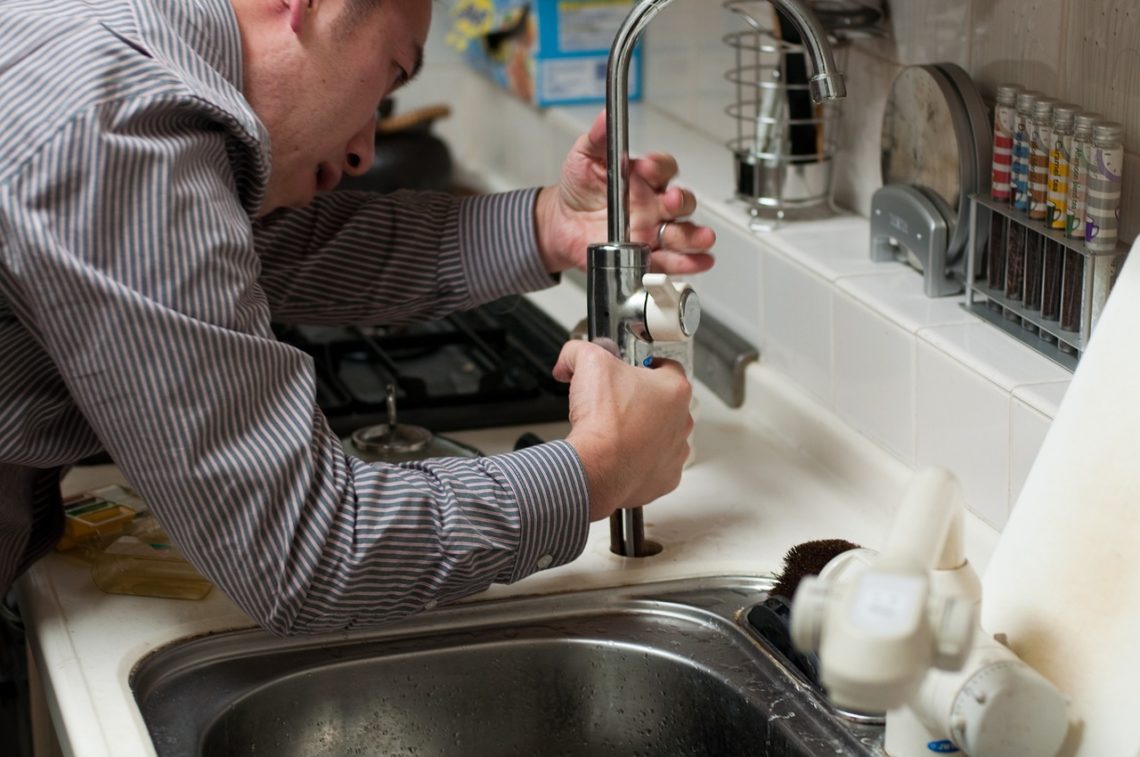
7 Practical Tips for Common Plumbing Problems
Discover practical solutions to common plumbing problems. From leaky faucets to frozen pipes, learn how to tackle these problems like a pro.
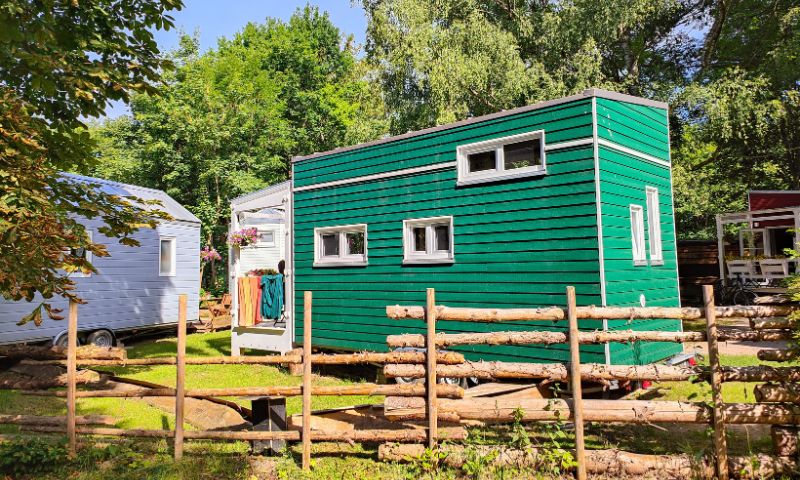
Top US Cities To Move to if You Have a Tiny Home
If you live in a tiny home or are considering purchasing one, you’ll want to check out this blog to discover the top US cities to move to.
Navigating the US Rental Scene: A Guide to Finding Your Perfect Apartment in 2024
Discover how to find the perfect apartment in the USA for 2024. Navigate the real estate maze with ease and find your ideal rental hassle-free.
Grinding Wheel Troubleshooting: Issues and Solutions
Is your grinding wheel not performing as it should? From chatter marks to overheating, learn common grinding wheel issues and their solutions here.
Mistakes To Avoid When Trying To Go Clutter-Free
Clutter is not something you want in your home, but getting rid of clutter isn’t always easy. Here are some mistakes to avoid when trying to go clutter-free.
Economical Elegance: A Comprehensive Guide to Affordable Bathroom Upgrades
Discover affordable bathroom upgrades to revamp your space without breaking the bank. From DIY touches to water-efficient additions, enhance functionality and style cost-effectively.
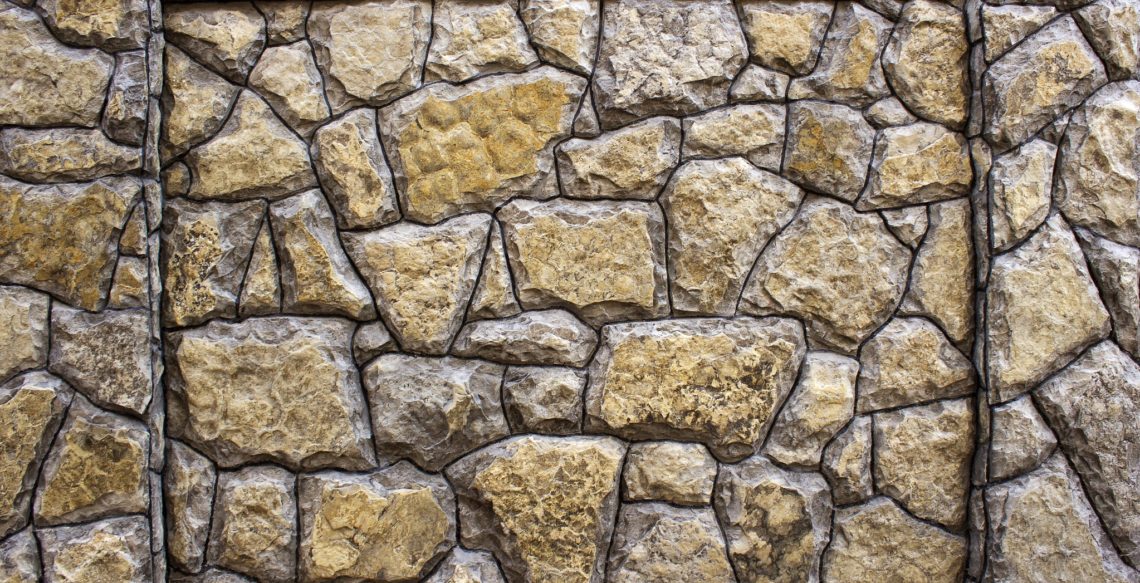
Types of Stone Cladding on House Walls
Transform your home's exterior with elegant stone cladding on walls. Explore options like cultured stone, limestone, slate, granite, sandstone, travertine, and fieldstone for timeless beauty and durability.
What Are the Benefits of a Saltwater Pool?
Explore the benefits of saltwater pools. Understand how they work compared to traditional chlorine pools, and why they're a safer and lower-maintenance choice.
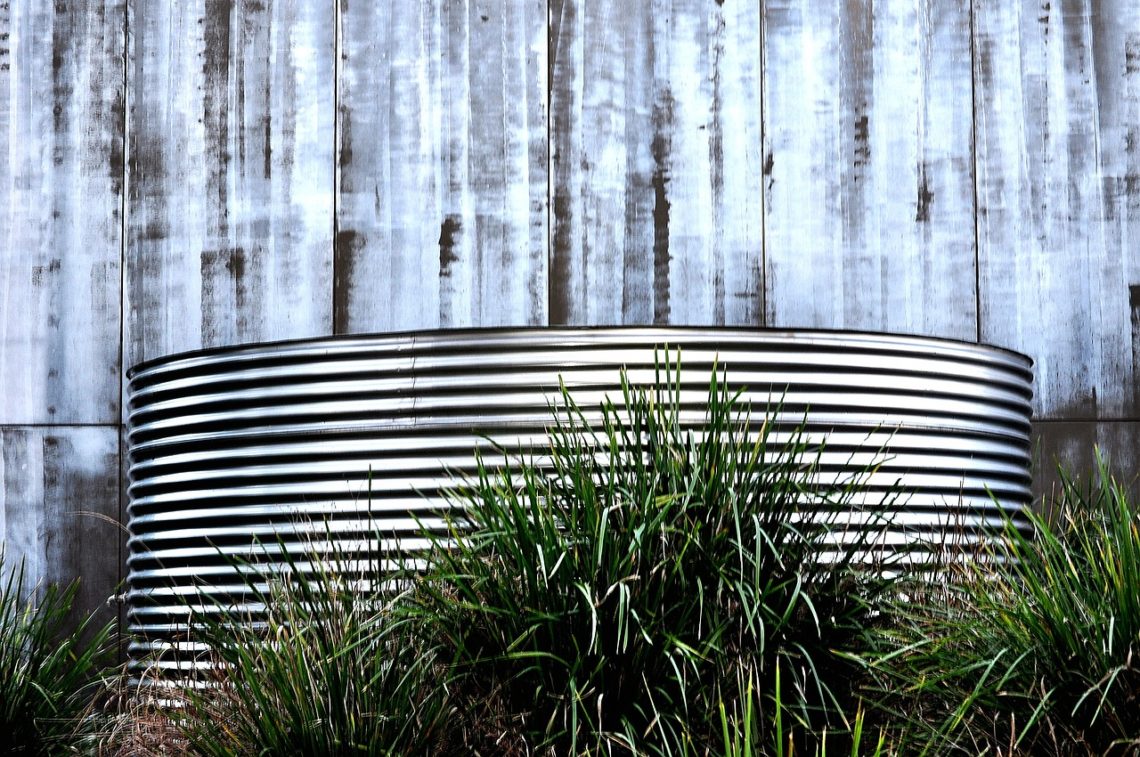
How to Do Rainwater Harvesting at Home
Learn the essentials of how to do rainwater harvesting at home. Discover key components, materials, and steps for setting up your own efficient rainwater collection system.
Home Sweet Home: How To Deal With Bad Neighbors
Struggling with disruptive neighbors? Discover effective strategies on how to deal with bad neighbors. From selecting the right neighborhood to open communication and legal measures, learn proactive steps to address issues and create a harmonious living environment.
5 Types of Neglected Infrastructure That Can Cause Disaster
Iconic bridges symbolize many cities. But bridges and other structures don’t last forever. Here are 5 types of neglected infrastructure that can cause disaster.
5 Tips for Performing the Perfect Paint Job
Ready to paint the house red (or green or blue or something else)? Be prepared to do it right. Here are five tips for performing the perfect paint job.